TruelySell IOS - Documentation
1. Introduction
- Created on: 16 October 2023
- Developed by: Dreams Technologies
- Support via email: [email protected]
- Support via CodeCanyon: Take me there
TruelySell provides a multiple on demand service based on nearby locations, by using this app simply you view and book a service or provide a service to the customers.
TruelySell is an on demand nearby service finder and booking system, it’s very powerful, flexible and most affordable that can be used for multiple type business. Truly sell Service offers a bouquet of services like pest control, carpentry, housekeeping, kitchens repairing, lighting, painting, wooden work, plumbing, refrigeration and washing machine repair and cleaning, air-conditioning repair and maintenance, and electrical services. It’s fully responsive, easy to use and user friendly applications.
TruelySell can be used in multiple ways, it has a multiple category and subcategories list. Customers can book a service within a minute based on your convenient time. Payment can be collected through stripe. If you are looking for any other payment gateways it can be under customizations.
2. Product Features
- Package contains Web, Android, and iOS platforms
- Professional Design on Web and Mobile Apps
- Subscription based App usage option
- OTP Based Login
- Ingrate with Firebase for push notification
- Simple and Powerful Chat Option
- Fully Responsive
- Powerful Admin Panel
- Add Multiple Service
- Add/Edit/delete Service details
- Dynamic Pricing
- Simple Calendar and Time view
- Powerful Location based Service
- Easy and user friendly Admin panel
- History view option
- Multiple Payment gateways
- Wallet concept
- And Much More....
3. Installation Procedure for iOS App
iOS (Xcode 12.4 or Later)
1. Download Xcode 12.4 or later if you still don't have follow the below link for downloading: https://stackoverflow.com/questions/10335747/how-to-download-xcode-dmg-or-xip-file
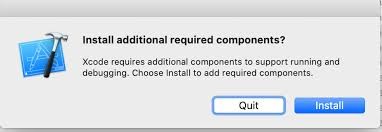
2. After downloading Xcode, double click the downloaded dmg file. It will take a few minutes for extract.
3. After this extraction, It will ask for installing components. Please click Install. It will download the components and it will install the Xcode tool.
4. Configuration
Change API and Image Base URL:
Open iOS project by clicking the file with extension .xcworkspace from the source file.
Then Click MVC > Model > Manager > Http > HttpMacro.swift > Update the API base url and Image base url.

Change WebSocket URL:
To change the websocket url of the app, MVC > Model > Manager > Http > HttpMacro.swift > Update the websocket url here.
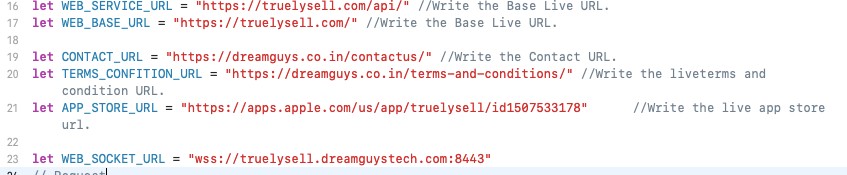
Change Contact , Terms and condition and Appstore Url:
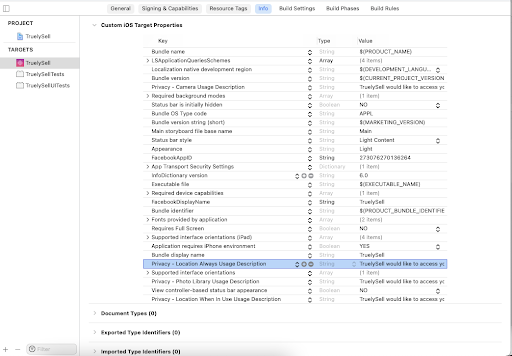
On HttpMacro.swift file change the contact url , terms and condition url and appstore url , The contact url and terms and condition will be displayed in the settings tab for user and provider. To add the Appstore url , add the project in the App Store connect and move on to the app information on general taband in additional information section you will find View on App Store. On clicking on it the url will be forwarded , Copy the Url and paste it on the swift file
5. Change App Color
To change the color of the app, Click MVC > Controller > Values > Common.swift.If you change the Color here, it will be reflected in app theme
App primary and secondary color is to display the theme colours in the settings tab (change app theme)
To change the default app color change app default primary color and app default secondary color
To change default gradient color change the RGB color in default gradient color 1 & 2

6. Change App Common Name
To change the common app name in the application, Click MVC > Model > Values > Common.swift. From this file, you can change the common app name. If you change the app name here, the whole application text will be changed.

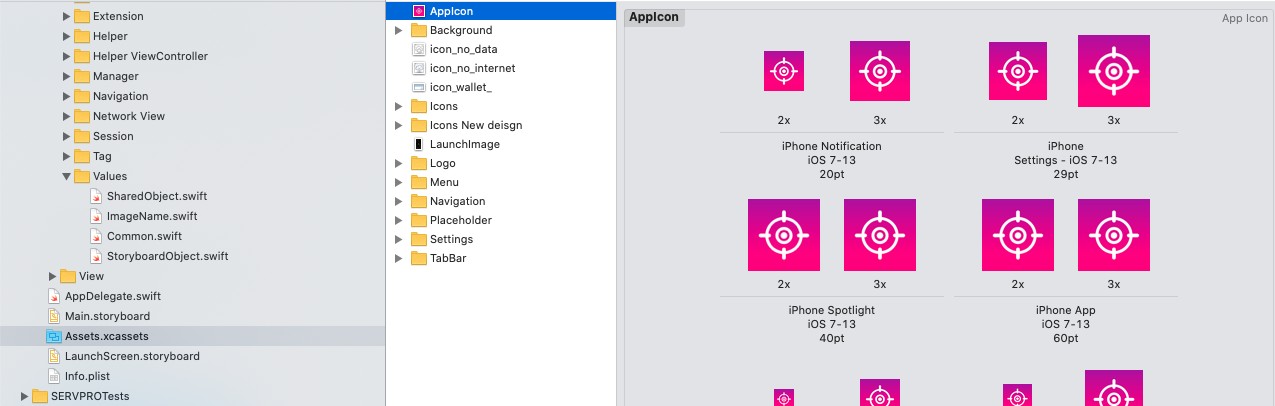
7. Change App Icons
First design the App Icon in 1024*1024 size without corner radius.
Then resize the app using this website https://makeappicon.com/.
Upload the resized App Icons with its corresponding sizes, Open project file, Click Assets.xcassets > AppIcon
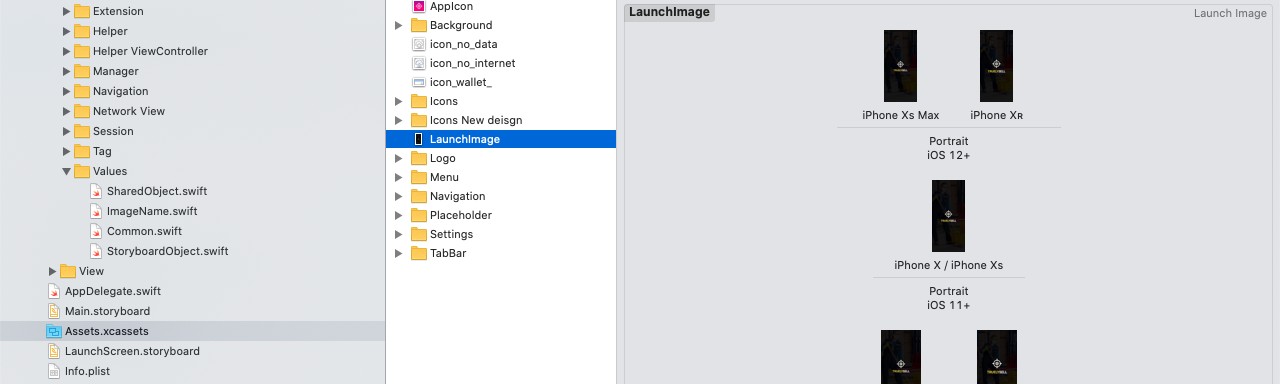
8. Change Splash Screen
First design the Splash screen according to the sizes required in the xcode.
Upload the resized Splash screen with its corresponding sizes, Open project file, Click Assets.xcassets > LaunchImage
9. Create certificate for development and distribution
Certificate creation is of two types, One will be a Development certificate which will be used while running the project in physical devices. And another one will be a Distribution certificate which will be used while releasing the application in the App Store.
For creating these two certificates first you need to create a CSR file in the Keychain tool from your mac machine. For creating this CSR certificate follow this link https://stackoverflow.com/a/45504269
After creating the CSR file,
For Development certificate follow the below steps:
Generate APP identifier in developer account
CLick on the below link and login to apple account :
https://developer.apple.com/account/resources/identifiers/bundleId/add/bundle
.png)
.png)
.png)
.png)
.png)
Click on register, Copy the bundle ID and save it for adding in Xcode
.png)
Generate Development and Distribution Certificate for current Mac, Link :
https://developer.apple.com/account/resources/certificates/add
Select the iOS app development -> Continue -> Add the CSR file generated Earlier in
.png)
Follow the same procedure for iOS distribution certificate.
Add Testing Devices :
For development testing devices are required , add the devices, To find the UDID of device connect the device to the Mac and get the device UDID or follow the below link
UDID Link :https://get.udid.io/.
Steps :
https://messapps.com/allcategories/development/finding- ios-devices-udid-via-itunes-2/
Add Development and Distribution Provisioning Files :
Link :
https://developer.apple.com/account/resources/profiles/add
Choose iOS development in the link and click continue, select the bundle iden- tifier and select the development device certificate and testing devices (Add the testing devices in device section if not added ) .Provide the name of your certificate and down load it, Double click the download certificate to add in the Xcode project (Try to change the new Bundle identifier in Xcode before adding provisioning files)
.png)
.png)
.png)
.png)
.png)
Distribution Provisioning File Screenshot :
.png)
.png)
.png)
.png)
Xcode Denotion of Certificates :
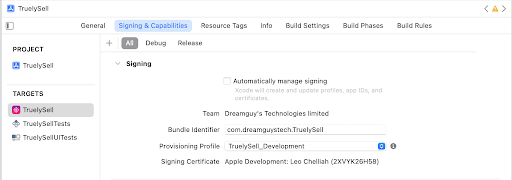
Download the provisioning profile development and distribution certificate and double click to add in the Xcode. Quit and reopen Xcode to set the certificate . Xcode will denotes the right certificate like above screenshot
10. Configure Firebase Push Notification
1. First login the gmail account with the https://console.firebase.google.com/
2. Once it is done , Kindly click on + button and enter the project name and click continue
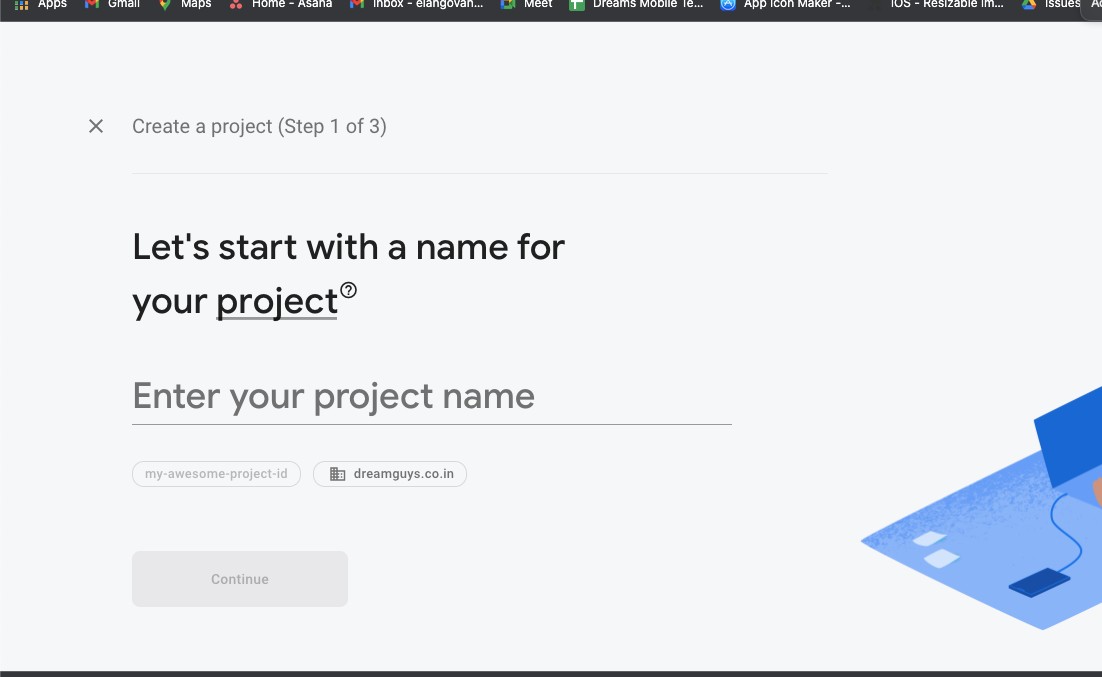
3. Create project with the three steps Ignore if project is already created
4. Click on the iOS logo as shown in the below screenshot
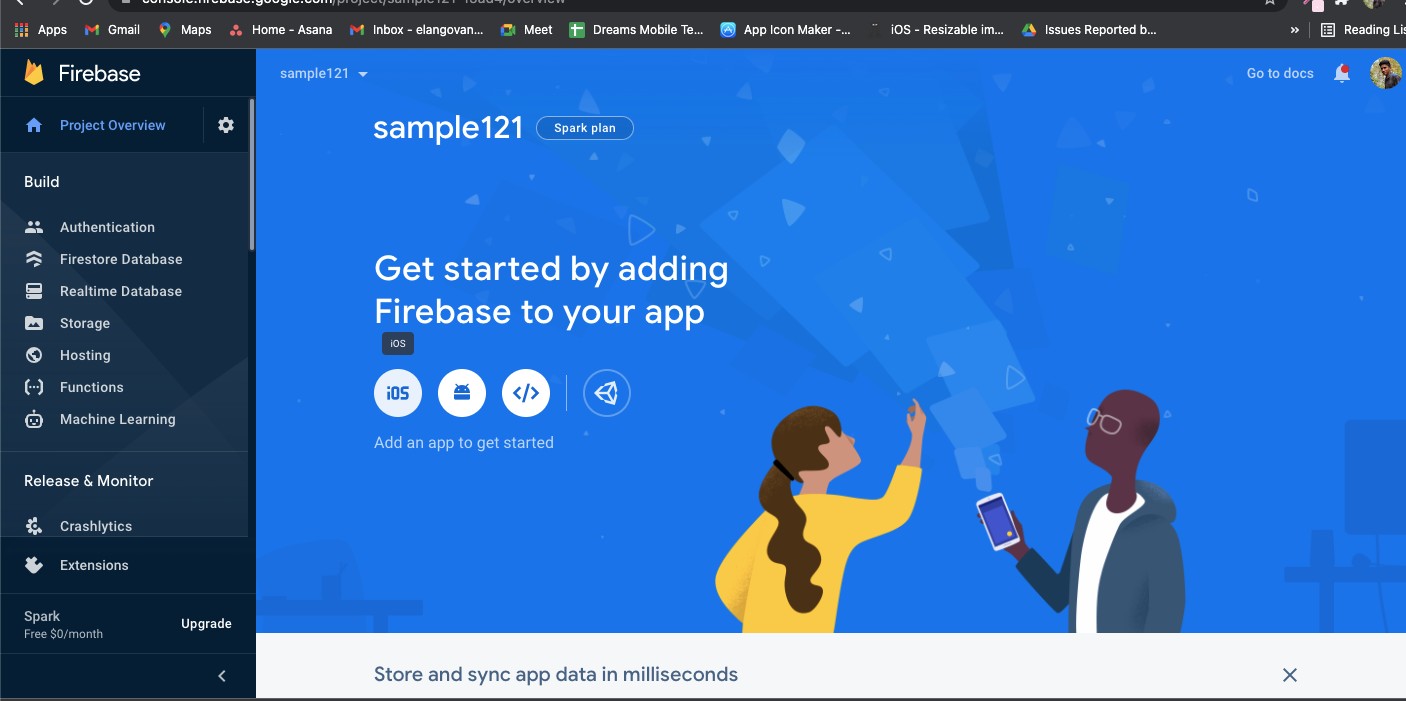
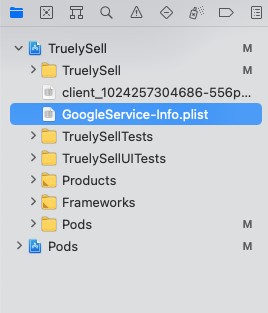
5. Register the app by giving the bundle id and click on register, Download the goole service info.plist and replace in the code shown in below screenshot and in the firebase console select next and at the end click on continue to console.
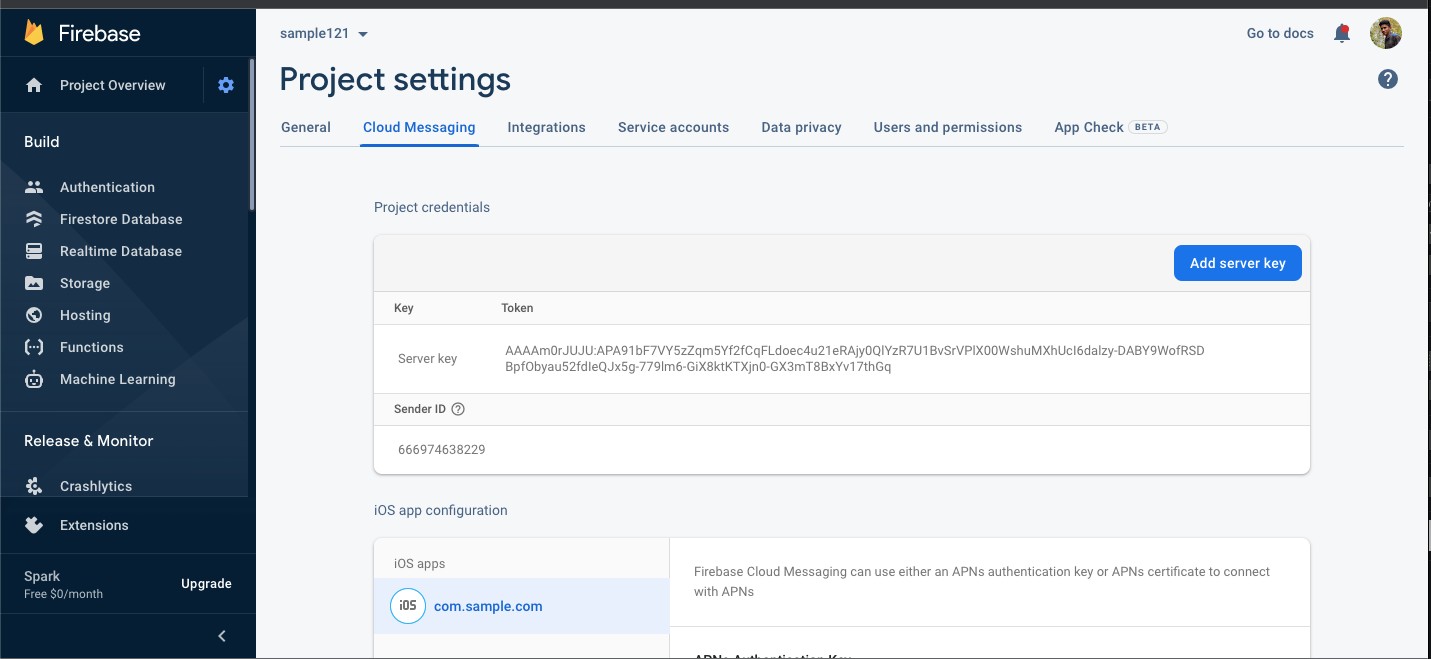
6. Click on the project settings and on cloud messaging tab copy the server key and paste in the admin pannel
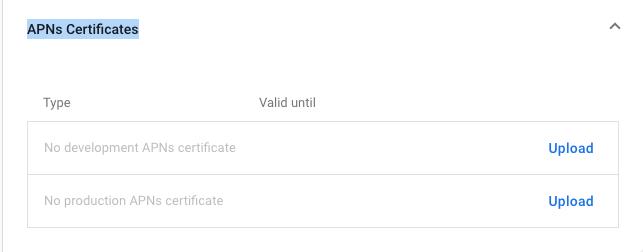
7. On https://developer.apple.com/account/resources/certificates/list. Create the Apple Push Notification service SSL (Sandbox & Production). Certificate and download and upload in the firebase cloud messaging APNS certificates , Upload in both development and production fields
Configure Google map
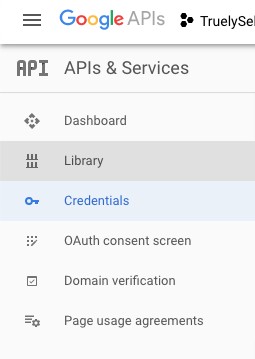
First login to Google API console and create a project in the dashboard.
After creating the project kindly click Credentials from the left menu.
From this option Credentials, Create the API keys for the project. For creating the API key kindly follow this link https://developers.google.com/maps/documentation/ios-sdk/get-api key. Just create the API key alone from these steps from the link. Don’t install pods as per the steps given in the link.
Once the API key is created then kindly add the key in the file. For adding these keys Open source code, Click MVC > Model > Common.swift.

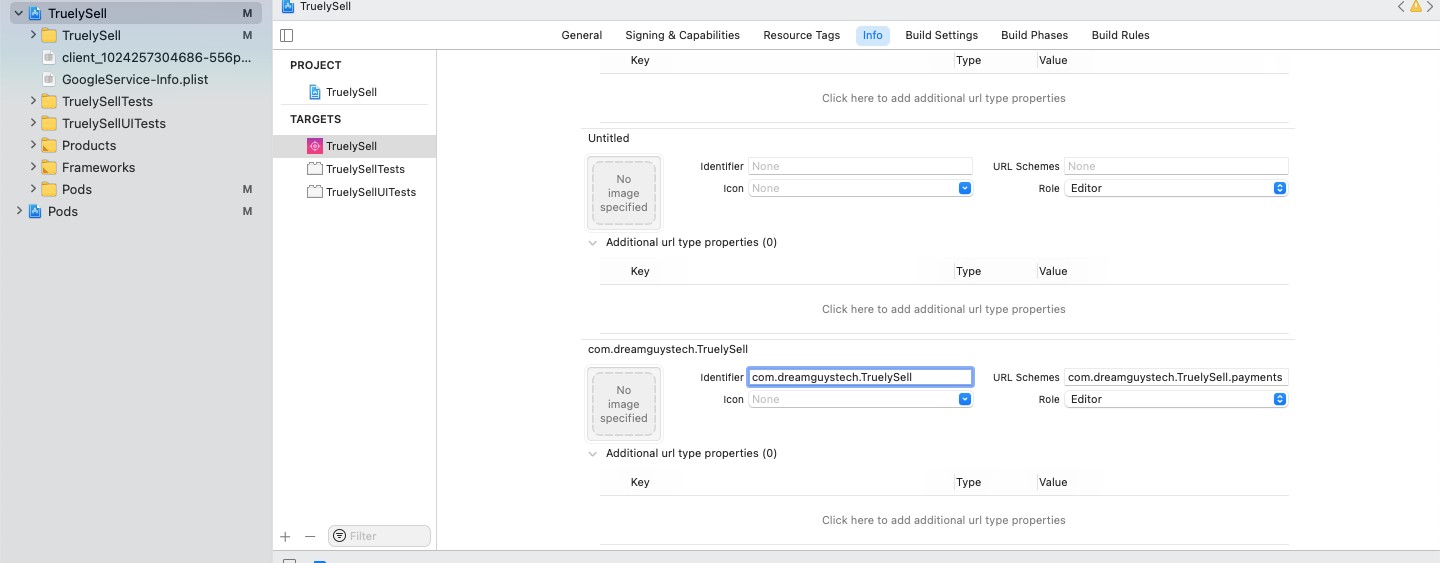
Configure Paypall
Change the bundle id in the MVC > Model > Common.swift. and on the info tab on target change the bundle payment id

Create certificate for development and distribution
Certificate creation is of two types, One will be a Development certificate which will be used while running the project in physical devices. And another one will be a Distribution certificate which will be used while releasing the application in the App Store.
For creating these two certificates first you need to create a CSR file in the Keychain tool from your mac machine. For creating this CSR certificate follow this link https://stackoverflow.com/a/45504269
After creating the CSR file,
For Development certificate follow this link, https://docs.nativescript.org/sidekick/user-guide/code-signing/code-signing-for-ios/create-development-certificate
For Distribution certificate follow this link, https://docs.nativescript.org/sidekick/user-guide/code-signing/code-signing-for-ios/create-distribution-certificate
11. System Requirements
To run the product, You need the followings
| Operating Systems | Mac OS Big Sur (11.2.3) or later |
|---|---|
| Software | Xcode 12.4 or later version |
Prepare to Deploy
And yes finally, To deploy your app to Apple App Store you need to generate the .ipa file and you need to upload it in iTunes connect. For this big process do follow the below video carefully and upload it in App Store
12. Support
If you have any queries please contact us through email: [email protected]
13. Thank You
Thank you so much for using this template
Dreams Technologies Pvt Ltd.